JAVIER REYNA
Happy. Engineer. Designer.
Design Intent


Video of gameplay
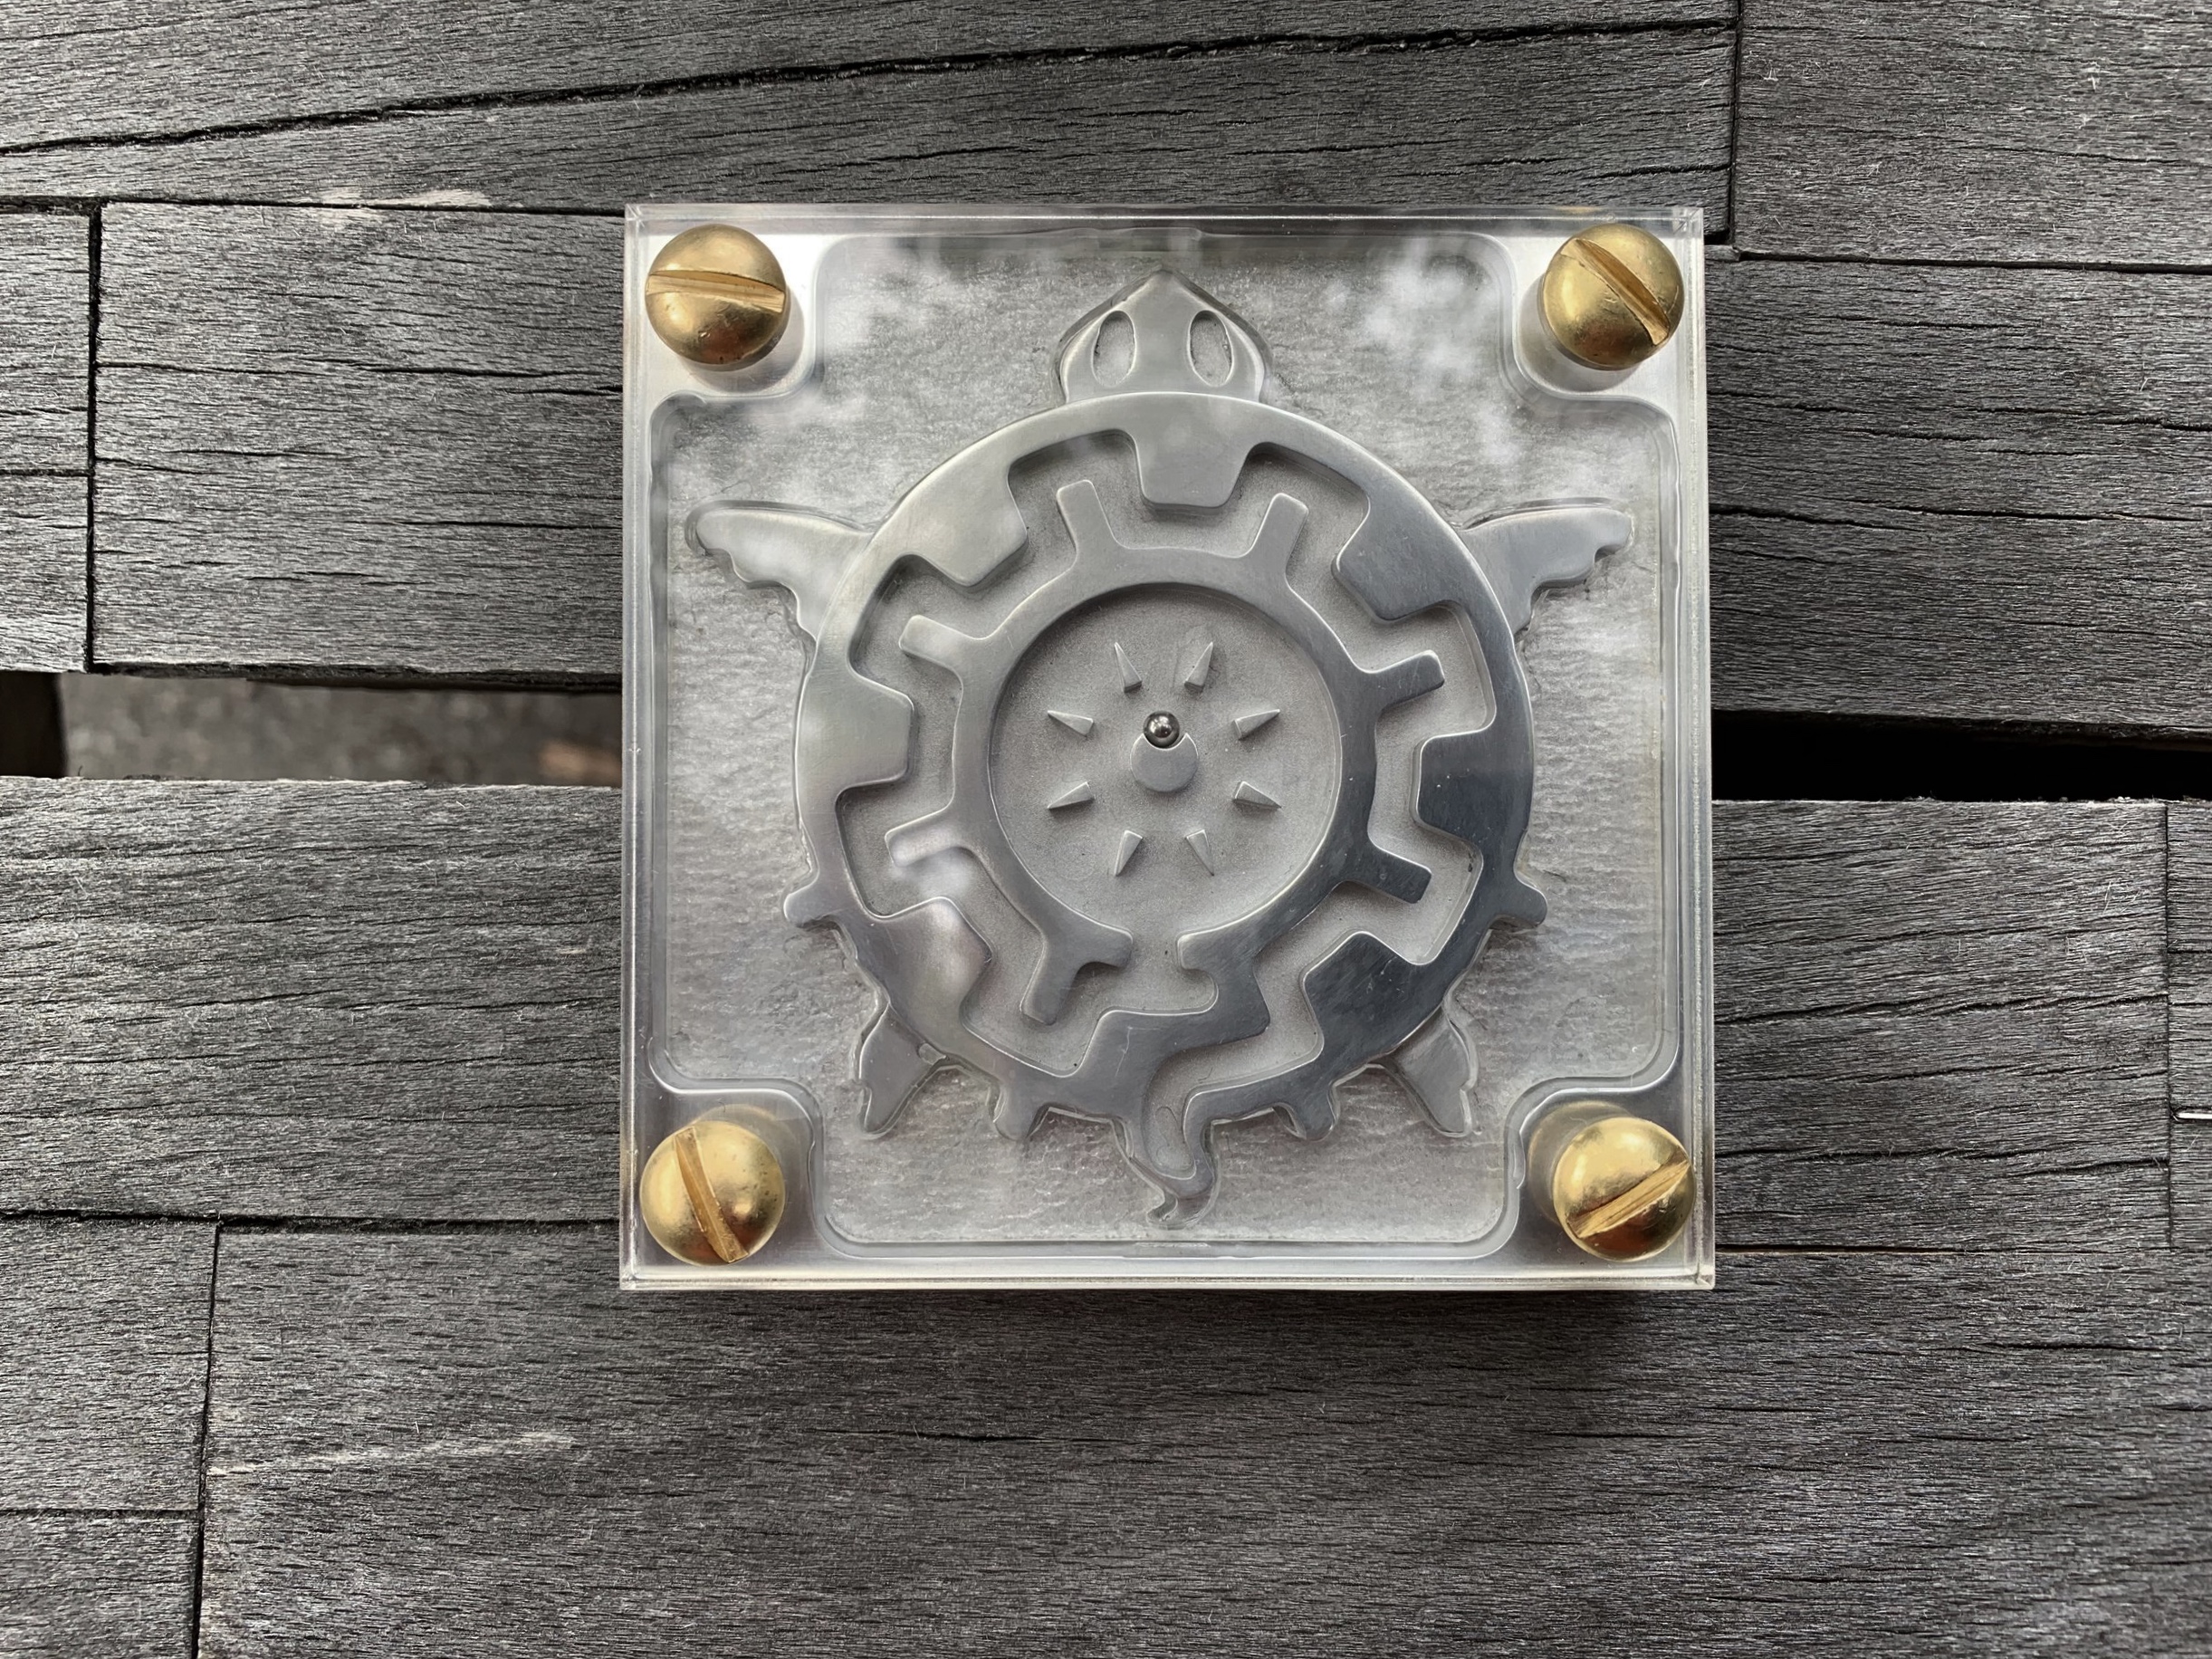
The Mayan Turtle Maze was intended to provide a pleasing and relaxing experience. I aimed to create a visually appealing design in the style of Aztec and Mayan stone art. The maze is simple enough to be considered a mindless activity, yet still requires some eye-hand coordination to sit the ball bearing at its center.
Solving it requires slowly rotating it counterclockwise and tilting it in a series of repetitive steps. One must rotate counterclockwise, tilt back, rotate counterclockwise, tilt forward, and so on. This forces the overall hand motions to follow a circular path as the ball traverses the outer edge of the shell. Once inside the center, the player must either rotate the ball directly above the moon shaped slot in the sun and slowly tilt back or they must touch the sun’s center and slowly follow its circular edge. As a result, this introduces a recurring and pleasant circular motion throughout the maze.
Design Process - Ideation
The turtle design was a result of three different mindmaps, from which I generated three lists. Every item on the list was a combination of at least two items, not necessarily directly linked, on the mindmap that would make an interesting concept. For instance, the turtle maze idea happened because [Cuauhtémoc + Sun], [Courage the cowardly dog], and [turtle] happened to intersect. After developing the idea and exploring potential visuals, I created a mix of them and prepared my CAD.
Prototyping and Machining


With my CAD finished, I prepared a quick 3D printed prototype to get a feel of the general shape, gameplay, and minimum channel size. This informed me that my channel sizes were slightly off and led to a final correction in my CAD before CNC milling.


Finishing


3D printed cover of finished parts before bead blasting
The ball bearing itself was quite reflective and was visually lost among the machining marks; I wanted the ball to stand out. As a result, I sanded the exterior walls and top surface down to a grit of 1200 and then polished them. Unlike the exterior, any channel or recessed was bead blasted for a more matte finish. Because of the nonconventional geometry and pockets between surfaces, I 3D printed a snap-on cover to protect the surfaces I did not want bead blasted and that I could not protect with masking tape (See Above). The lower level was then covered by a textured acrylic insert to make a wave-like texture.

